First run
Generating the instance root key and creating the first Superadmin account (Installation Methods 1–3).
Two things need to happen before RedScribe is actually usable: it needs its encryption key, and you need an account to log in with. This page covers both. It applies to Installation Methods 1 through 3 (Docker Compose). If you used Method 4 for local development, skip this page, those steps are already built into it.
-
Start everything, if you haven’t already (this already happened as part of whichever installation method you followed):
Terminal window docker compose up -d --build # or: docker compose --profile tailscale up -d --build -
Generate the instance’s root key, the one master key that protects every engagement’s sensitive data. Do this once, before creating any engagements:
Terminal window docker compose exec web python manage.py generate_root_keyCopy the value it prints into
secrets/root_key.txt, then restart so it picks it up:Terminal window docker compose up -d web -
Create your first admin account. Pick whichever way suits you:
-
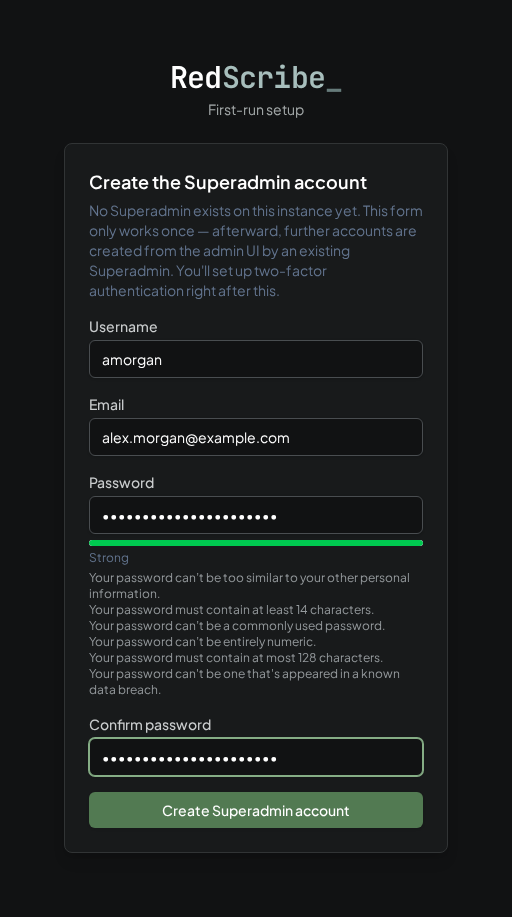
Through the browser (the easier option): visit
/setup/on whichever address applies to your method, and fill in the form. This page only works before any admin account exists. Once you’ve created one, it redirects to the login page instead. -
From the command line, useful for scripted deployments:
Terminal window docker compose exec web python manage.py bootstrap_superadmin --username admin --email admin@example.comYou’ll be prompted for a password (14 characters or more).
Either way, your first login walks you through setting up two factor authentication, a QR code plus a confirmation code. Every local account goes through this, with no way to skip it.
-
-
Head to
/login/(or you’re probably already there).
What’s next
Section titled “What’s next”- Home & navigation, to get oriented.
- User management, to invite your team.
- Roles & permissions, to decide who can do what before you add more staff accounts.